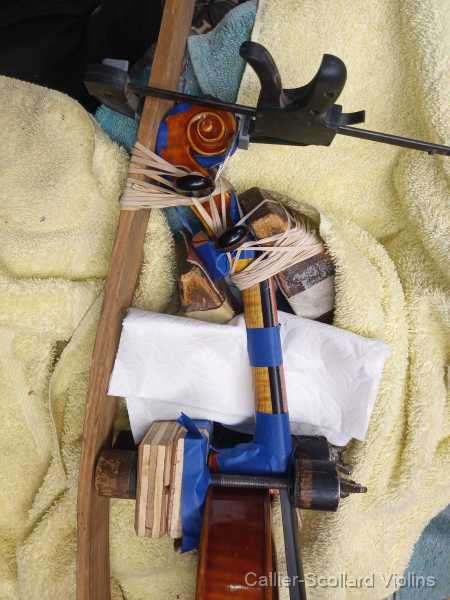
This student violin had been dropped, causing the neck to break completely away from the body at the heel along an angled break. Unfortunately, I neglected to take a photograph before beginning the repair, but the broken surfaces were still intact enough that they could be carefully cleaned and fitted back together with very little material missing. After repeatedly checking the fit by hand, the neck was glued and clamped back into its original position. A little additional pressure was needed to close the break completely, so rubber bands were added to the clamping setup. Because the broken surfaces fitted together so precisely, very little evidence of the repair remained after the excess glue was cleaned away, and no varnish touch-up was necessary. - Clean the Break: Carefully clean the two broken surfaces while preserving as much of the original wood as possible so they can fit precisely back together.
- Check the Fit: Fit the broken pieces together by hand and make sure the neck returns to its original position with the break closing tightly.
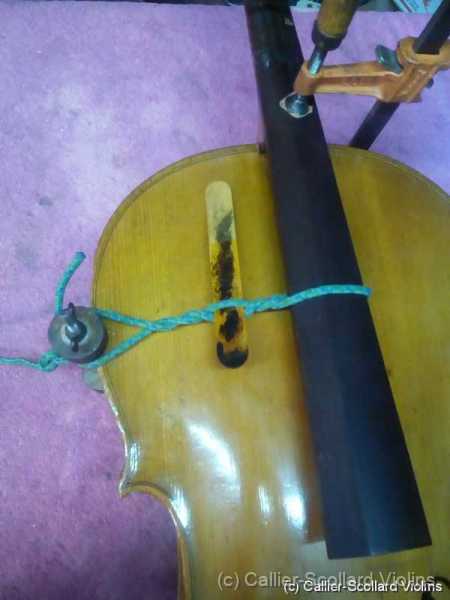
- Glue and Clamp: Apply glue to the repair, carefully align the neck, and clamp it securely into position.
- Add Clamping Pressure: A little additional pressure was needed to close the break completely, so rubber bands were added to the clamping setup.
- Clean the Repair: Carefully remove the excess glue squeezed out around the repaired break.
- Allow the Glue to Cure: Leave the neck securely clamped for 24 hours before removing the clamps and rubber bands.
- Remove the Fingerboard: Carefully remove the fingerboard to gain access for reinforcing the repaired neck.
- Pin the Break: Reinforce the repaired neck with one metal pin and two small wooden pins to provide additional mechanical support across the break.
- Replace the Fingerboard: Reglue the fingerboard securely back into its original position.
- Inspect the Finish: With a precise fit, the original varnished surfaces come back together cleanly, making additional varnish touch-up unnecessary.
 IMG 20260915 100638 114 | IMG 20260915 121408 824 | IMG 20260915 170249 393 | IMG 20260917 133649 857 | IMG 20260917 133659 931 | IMG 20260917 133710 021 |
Violin family instruments necks are susceptible to damage. Normally the best method is to do a neck graft, but because it's time consuming it's a little expensive. Here are some unusual neck repairs that were performed without a neck graft.
I see a lot of bass and cell neck breaks like this one but not too many of this type of violin or viola breaks. She came in just wanting a new "A" string, and told her that she needed the neck repaired. IMG 20220525 160405 981 |
Normally when necks break out and the button breaks, the break is at the weakest point which is the purfling. This is a somewhat unusual because it also took some of the back that's on the other side of the purfling. IMG 20220215 095200 621 | IMG 20220318 135015 990 | IMG 20220318 135050 418 | | | | |
|







Craig